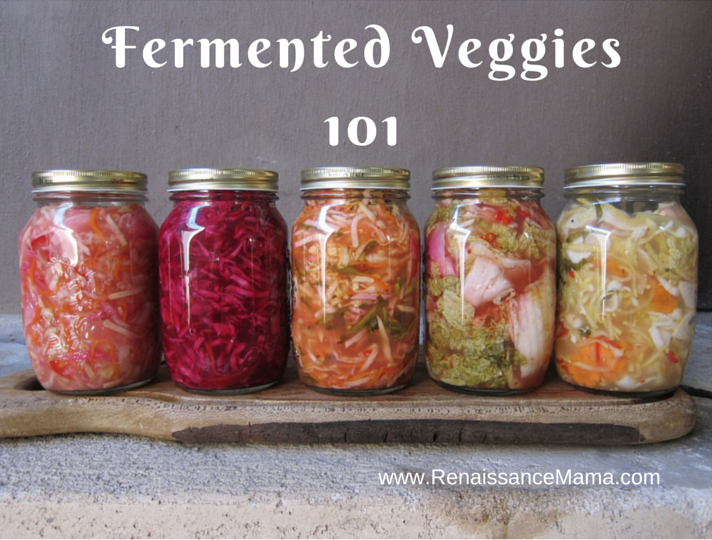
Fermented Vegetables 101
Fermented Vegetables
by Susan Count
I thought I would have to hold my nose to eat “ugh” – fermented vegetables. Sauerkraut, I thought! Who would eat that? But somewhere I picked up that fermented vegetables could put good bacteria in my gut and help with my acid refux. WRONG! It didn’t just help – it changed EVERYTHING!
And I think it helped me lose a little weight too and that never hurts. I substituted a big forkful of fermented vegetables at dinner instead of eating rice or potatoes or pasta.
Cutting the Cost
A quart of fermented vegetables at the store can run about $10. A cabbage, a couple carrots and two bunches of celery so I can make my own will yield TWO quarts of fermented vegetables. You are better at math than I am, but that seems like a deal to me.
Making my own also makes me feel like I have really done something special. You know – that feeling you get when you bake a big beautiful chocolate cake from scratch.
The store bought fermented vegetables tend to be tooooo strong for me so I like to control how long they brew.
I also want my fermented vegetables to be as much of a “superfood” as possible, so I decided to learn to make them myself. That way I would have control over what goes in. If you can chop cabbage, then you can make it too.
I keep it simple and I definitely keep it organic! Cabbage, carrots, and juice of celery are some of my favorites. Yes, you can use other vegetables and yes it would be beneficial to mix it up. I suggest you try the simple version first.
You will need the following supplies:
a gallon size wide mouth glass jar
a round stick pounder (ask Home Depot to cut a piece of closet rod about 14” long.)
a gallon size zip-lock type plastic bag.
Ready?
1. Roughly chop one big head of cabbage.
2. Grate two carrots.
3. Juice two bunches of celery either in a juicer or in a blender.
4. Squeeze or work the cabbage with your hands for about ten minutes to break down the cell walls.
5. Mix cabbage and carrots and pack into the gallon glass jar.
6. Then, pour celery juice over cabbage to completely cover vegetables.
7. Supplement with brine if needed – see note below.
8. It’s important to remove air pockets so compress with pounder or if you don’t have one, you are brilliant – improvise.
9. Cover with whole cabbage leaves.
10. Place the gallon size plastic bag on top of the vegetables (INSIDE the jar**) and fill the bag with water to seal the vegetables from air. This is HUGELY important. If air is in contact with the FV it will turn them all icky brown and could cause bad bacteria to grow instead of the great ones you are after. Seal the bag.
11. Put the lid on LOOSLY so gas can escape.
Now it ferments! Keep the jar at room temperature, between 50 and 75 degrees. I get a kick out of watching it bubble and brew. The longer it ferments the more acidity it gets. If you want it mild, let it ferment about four days and then do a taste test every day until it is tangy enough for you.
Pack your creation in smaller glass jars and store them in the refrigerator.
Making fermented vegetables is not an exact science. You don’t have to do it perfectly, so play and have fun with it.
You can pat yourself on the back after you make fermented vegetables because you will be putting mounds of beneficial microbes and enzymes on your dinner plate.
I recommend you read the article by Dr. Mercola as he has a wealth of information on the subject. Fermented Vegetables
Other fermented possibilities: try mixture above with some shredded beet, radish, or even apple.
*BRINE: is 1 T mineral rich sea salt dissolved into 1 cup water.
** Use of a plastic bag: Not all fermenters use the plastic bag because they feel it leaches chemicals into the brew. I only leave the bag on the mixture for a few days. When the fermented vegetables are transferred to the fridge, I’m done with the bag. If you do not cover the surface you will have to skim off mold and who wants to do that? You can look for bags that are BPA Free.
Pin It
